No Knead Overnight Bread (Steve’s Version)
Here’s your sign to start making your own bread! Yes, you do have to commit to this recipe. A few parts of this will make your bread-making dreams become ever-closer to reality; does it involve niche gear? Yep, sure does. Does it include a bit of breadmaking lore? Yep, we’re flipping a dutch oven upside down, baby! And the takeaways couldn’t be clearer: the flavor, satisfaction, and learning you’ll take away from this loaf will make you feel like an actual, living, breathing bread maker! You’ve arrived. Don’t forget to basque in the glory of this kitchen milestone.
INGREDIENTS
3 cups (or 350g) white bread flour (top quality, like King Arthur)
1/3 cup (or 50g) whole wheat flour (top quality, like King Arthur)
1 tsp. dry active yeast (or 1/2 - 1 cup fed sourdough starter)
2 tsp. table salt
300g water @ 55 degrees fahrenheit (chilled)
DIRECTIONS
Mix & rest the yeast. In a large bowl, combine bread flour, whole wheat flour, and active dry yeast. Let sit uncovered at room temperature for about 1 hour. If using sourdough starter, combine wet ingredients + dry ingredients together and proceed to mixing in step 2.
Make the dough.Add salt and chilled water. Mix just until a loose dough forms (don’t overmix). Cover with a clean dish towel or plastic wrap and let rest overnight (12–18 hours) in an off oven or microwave.
Shape the loaf.Dust an 8–9" banneton with rice flour and your work surface with bread flour (rice flour will prevent the dough from sticking to the banneton). Turn the dough out onto your work surface and shape it into a tight round, by repeatedly tucking the edges underneath. No kneading required!
Final proof. Place the dough, bottom-side up, in the dusted banneton and cover with plastic wrap. Twist a little knot into the bottom of the loaf here if it needs a little more shaping or tightening. Cover the banneton with with plastic wrap. For a warm, steamy final proof, microwave a clean, fully wet dish towel for 2–2½ minutes, quickly open the microwave door, place the banneton (still covered in plastic wrap) into the microwave, drape the hot towel over it, close the door, and let it rise for 45 minutes.
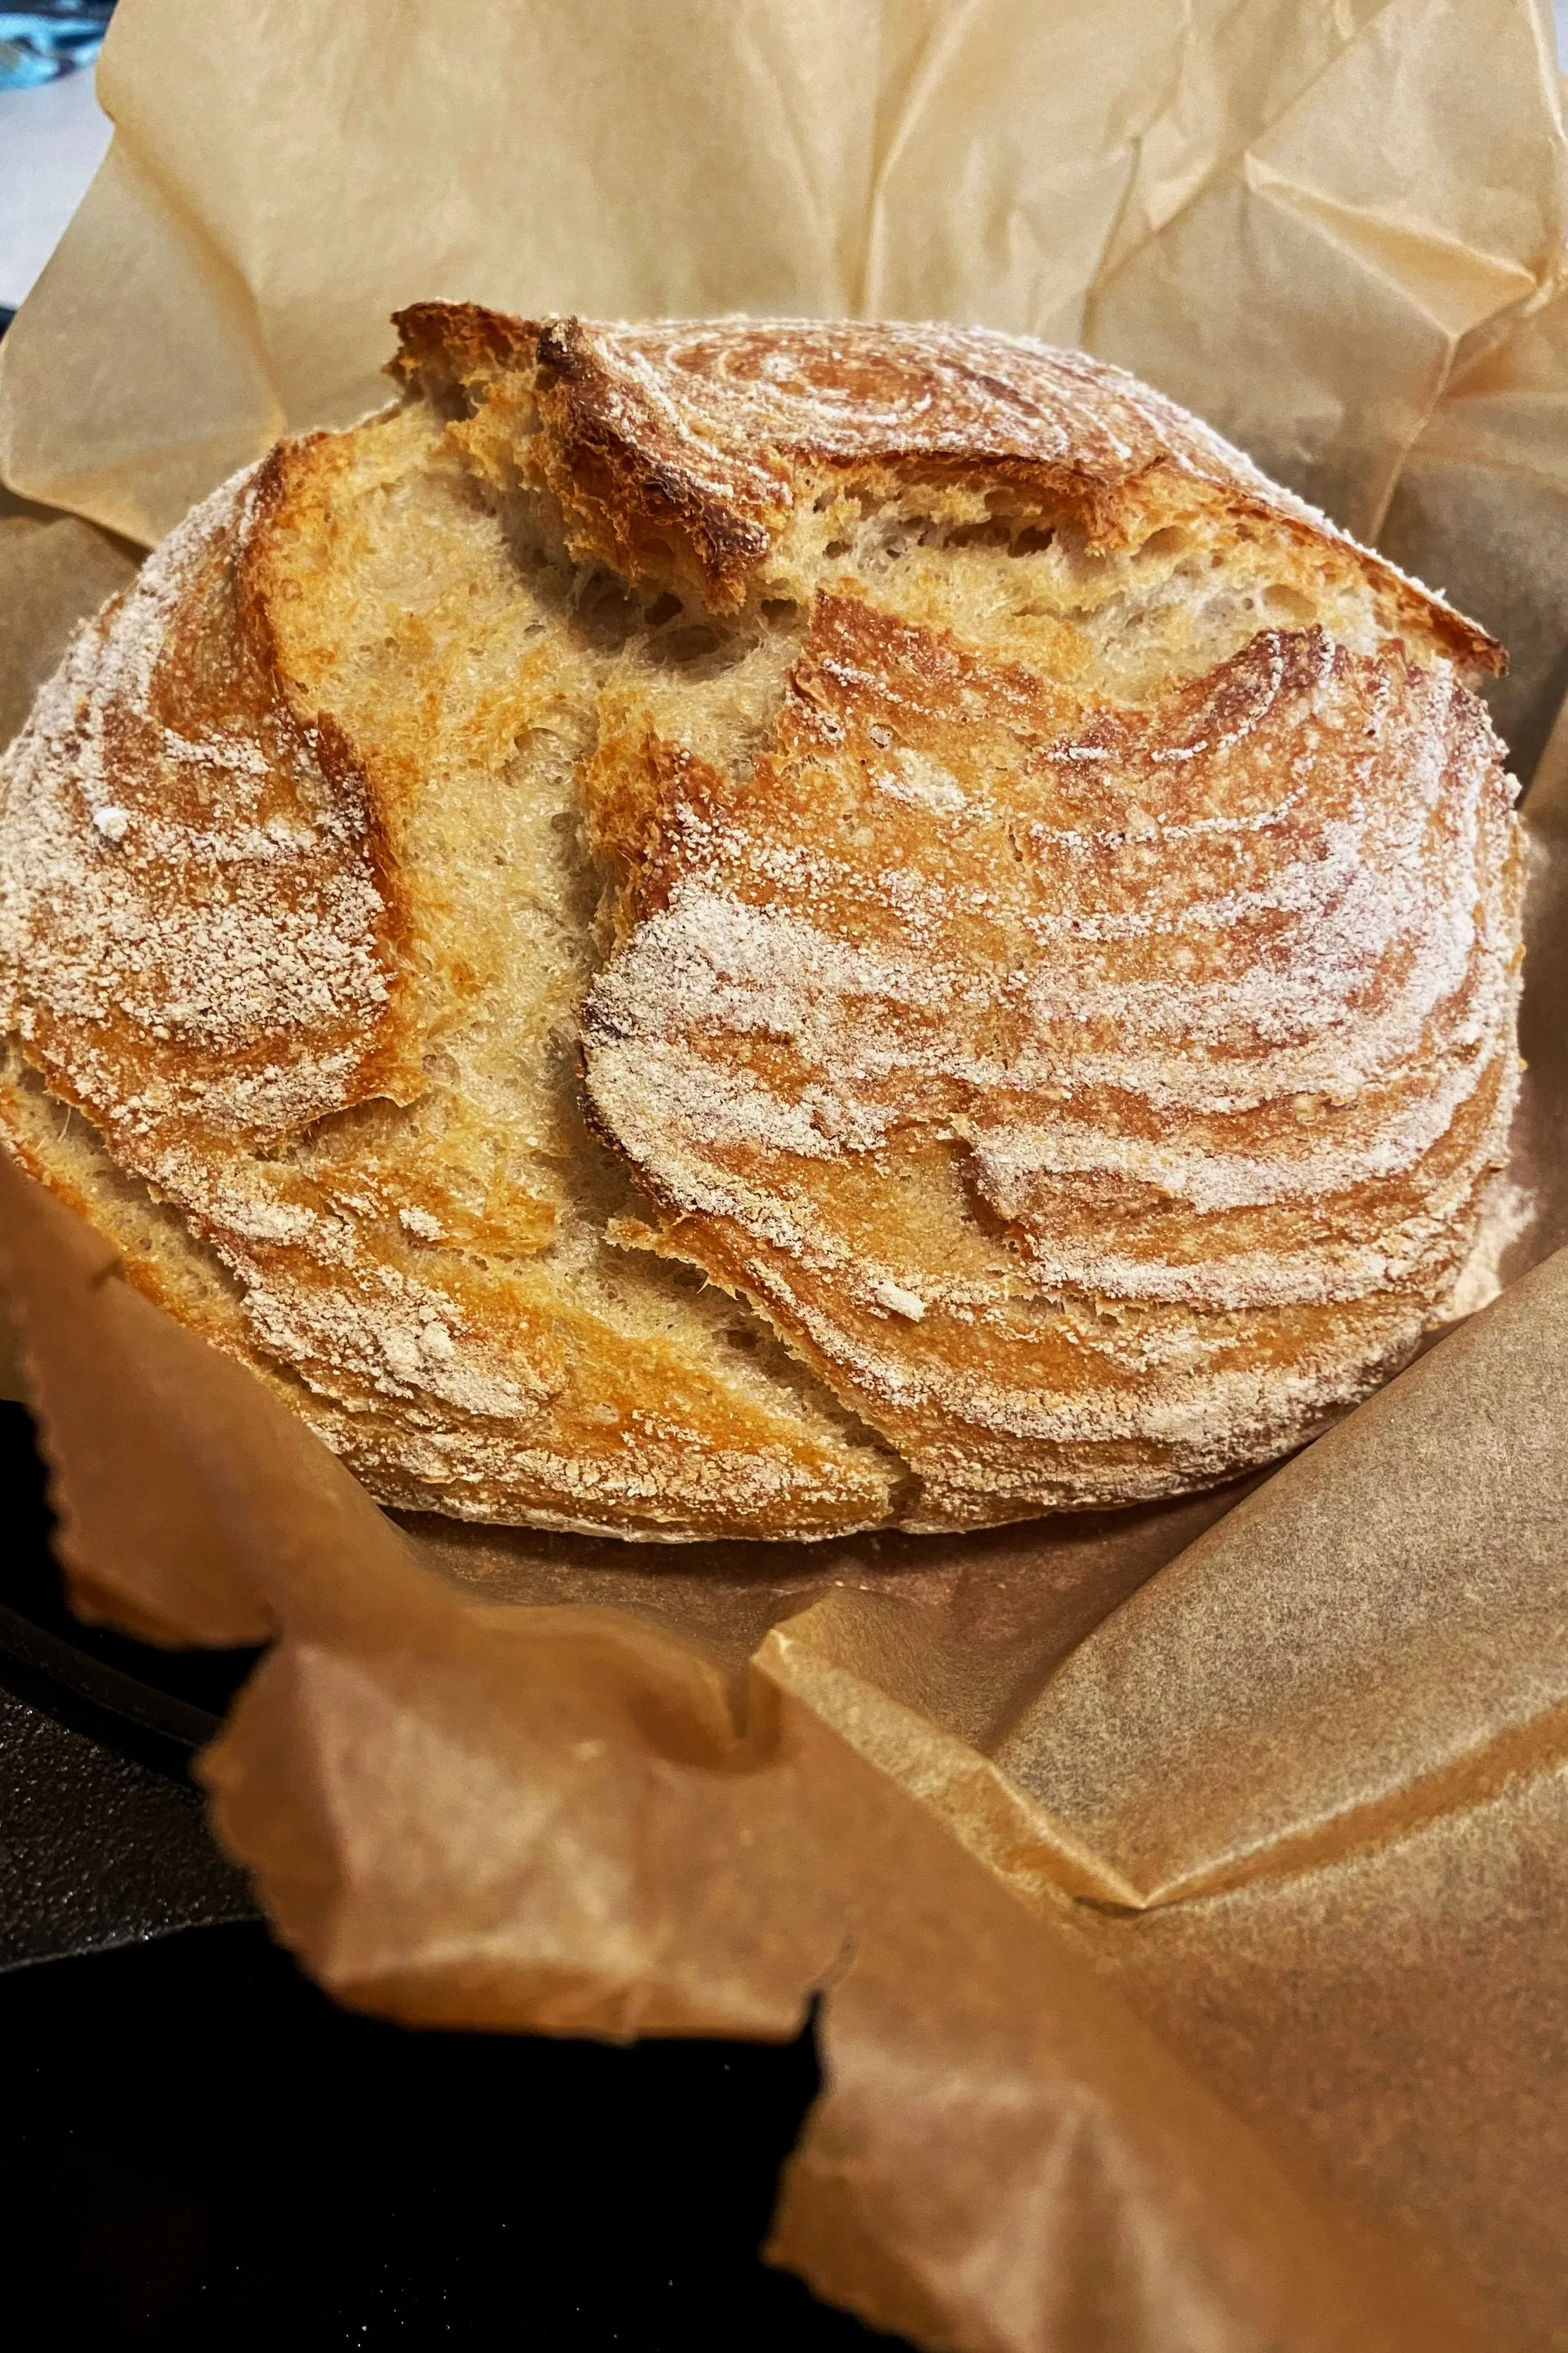
Preheat & Bake.About halfway through the final proof time, preheat your oven to 475°F with a large Dutch oven inside. If it's a flat-topped dutch oven, flip it upside down and line it with a cast iron trivet, silicone baking round, or parchment paper, cut to fit. If it's a dutch oven with a top handle (can't be flipped), tear and measure off an extra long sheet of parchment paper to fit and line the whole thing (we'll lift the loaf out with the edges of the parchment paper later). Turn the dough onto your trivet/silicone mat/parchment. Score the top of the loaf with a couple of lines (or a design) using kitchen shears, and place it into the hot Dutch oven. Cover and bake for 30 minutes, then uncover and bake in 5-minute intervals until the crust is deep golden.
Cool & serve. Transfer to a rack and cool at least 10–15 minutes before slicing. Enjoy with butter or olive oil, and a crack of salt & pepper for a purist bliss. This bread will make great sandwiches, toast, croutons, etc. Keeps well for 4–5 days.